Scan-Modus
Der Scan-Bildschirm ist der Ort, an dem Benutzer Artikel innerhalb einer Zonensitzung scannen. Das System verwendet einen konfigurierbaren Scan-Ablauf mit mehreren Schritten, von denen jeder ein zu scannendes oder einzugebendes Feld darstellt. Jeder Schritt validiert die Eingabe anhand von Regex-Mustern, führt eine Datenbankabgleichung durch, um zu prüfen, ob Artikel vorhanden sind, und kann verwandte Felder automatisch aus Abgleichsergebnissen ausfüllen. Die Schritte verlaufen sequenziell, wobei Sichtbarkeit und Bearbeitbarkeit durch Feldregeln basierend auf vorherigen Eingaben gesteuert werden. Wenn alle erforderlichen Felder ausgefüllt und validiert sind, wird der Scan an die Sitzung übermittelt.
Übersicht
Die verfügbaren Felder und die Bearbeitbarkeit hängen von der Scan-Flow-Konfiguration ab.
Funktionen
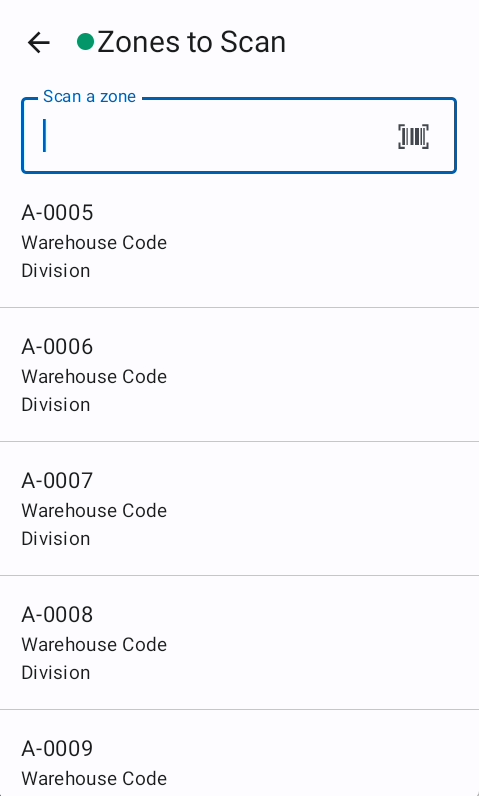
Zu scannende Zonen
Der Zonenbildschirm ermöglicht es Benutzern, sich zum Scannen in eine Zone einzuchecken. Das System validiert das Zonencode-Format anhand von Regex-Mustern, prüft, ob die Zone auf dem Server verfügbar ist, und stellt sicher, dass keine bestehenden offenen Sitzungen für diese Zone vorhanden sind. Wenn die Validierung erfolgreich ist, wird ein Zonen-Check-in-Eintrag erstellt und der Benutzer kann Artikel in dieser Zone scannen oder verifizieren.
Der Bildschirm „Zu scannende Zonen" bietet Zonenvorschläge basierend auf den letzten Arbeiten des Benutzers. Er zeigt die fünf nächsten noch nicht gescannten Zonen ab der zuletzt gescannten Zone an. Dies ist die vorgeschlagene Zonenliste und hilft dem Benutzer, die nächste zu erledigende Zone zu finden. Der Benutzer ist nicht gezwungen, eine davon auszuwählen.
Wenn einem Benutzer eine Zone zugewiesen wird, wird er während der Anmeldung darüber informiert.
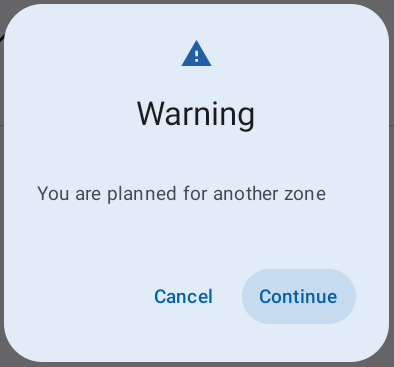
Die Anmeldemethode wird durch die Zonencode-Konfiguration und die Einstellung Anmeldung mit Funktionstaste gesteuert. Wenn die Einstellung „Anmeldung mit Funktionstaste" aktiviert ist, kann der Benutzer sich durch Auswahl einer Zone aus der vorgeschlagenen Zonenliste in eine Zone einloggen.
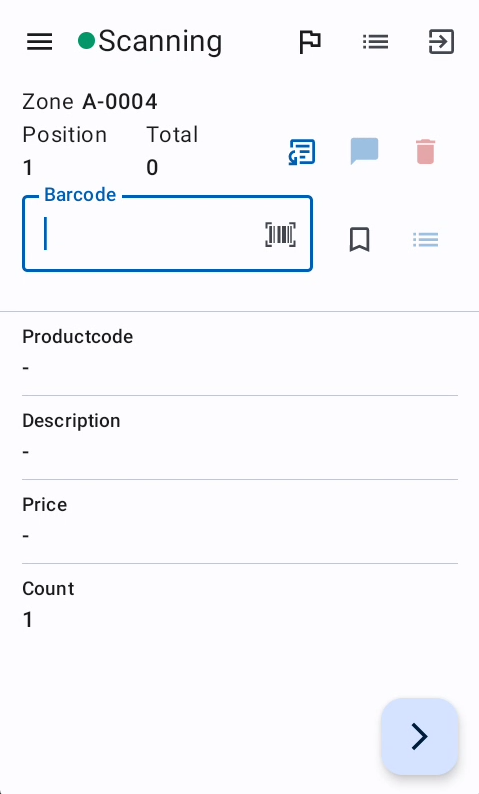
Scan-Bildschirm
Der Scan-Bildschirm ist der Ort, an dem Benutzer Artikel innerhalb einer Zonensitzung scannen. Das System verwendet einen konfigurierbaren Scan-Ablauf mit mehreren Schritten, von denen jeder ein zu scannendes oder einzugebendes Feld darstellt. Jeder Schritt validiert die Eingabe anhand von Regex-Mustern, führt eine Datenbankabgleichung durch, um zu prüfen, ob Artikel vorhanden sind, und kann verwandte Felder automatisch aus Abgleichsergebnissen ausfüllen. Die Schritte verlaufen sequenziell, wobei Sichtbarkeit und Bearbeitbarkeit durch Feldregeln basierend auf vorherigen Eingaben gesteuert werden. Wenn alle erforderlichen Felder ausgefüllt und validiert sind, wird der Scan an die Sitzung übermittelt.
Obere Leiste
- Seitenmenü

- Verbindungsstatus → Die App kontaktiert den Server alle 10 Sekunden
 → Erfolgreiche Serverantwort
 → Keine Serverantwort
- Name des aktuellen Bildschirms
- Hilfe anfordern

- Scan-Liste

- Sitzung einreichen

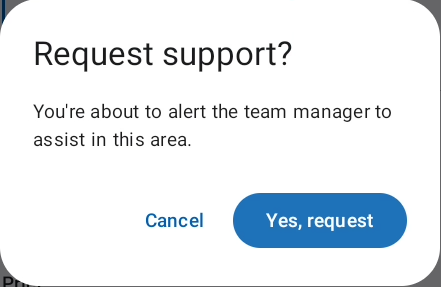
Hilfe anfordern
Die Hilfeanforderung sendet eine Benachrichtigung an den Server mit Informationen über die Zone und den Benutzer, der die Anfrage erstellt. Dadurch können der Team Manager oder der Bereichsleiter effizient auf die Anfrage reagieren und die Leerlaufzeit der Mitarbeiter reduzieren.
Scan-Liste
Die Scan-Liste zeigt die bereits gescannten Positionen derselben Zonensitzung an. Aus dieser Liste kann die Menge jeder Position geändert oder die Regalmarkierung hinzugefügt werden. Mit der Suche kann eine Position durch Scannen eines Barcodes gefunden werden.
Die Regalmarkierung kann durch Auswahl einer Position und Drücken von FN4 hinzugefügt werden.
Die Scan-Liste ist in umgekehrter Reihenfolge → Letzte Position oben
Scans werden gruppiert, wenn:
- Sie denselben Barcode oder Match-Code (Identifikator) haben.
- Alle Match-Felder (wie Beschreibung, Größe, Farbe) identische Werte haben.
- Kein Scan in der Sequenz ein Markierungs-Flag gesetzt hat (Markierungen unterbrechen Gruppen).
Jede Gruppe zeigt:
- Die identifizierenden Informationen des Artikels (Barcode, Beschreibung usw.).
- Gesamtmenge für diesen Artikel über alle Scans in der Gruppe hinweg.

Optionale Schritte
Die optionalen Felder ![]() ermöglichen es dem Benutzer, optionale Felder sichtbar zu machen. Wenn nur ein Feld definiert ist, aktiviert/deaktiviert die Schaltfläche dieses Feld. Wenn mehr als ein Feld als optional definiert ist, erscheint die Auswahl. Diese Felder werden durch die Scan-Flow-Konfiguration definiert.
ermöglichen es dem Benutzer, optionale Felder sichtbar zu machen. Wenn nur ein Feld definiert ist, aktiviert/deaktiviert die Schaltfläche dieses Feld. Wenn mehr als ein Feld als optional definiert ist, erscheint die Auswahl. Diese Felder werden durch die Scan-Flow-Konfiguration definiert.
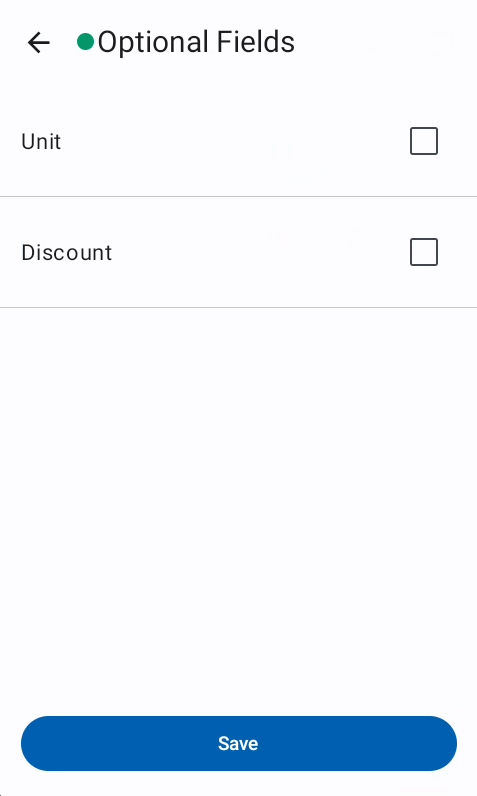
Um optionale Felder zu aktivieren, müssen diese als nachfolgendes Feld des aktuell ausgewählten Feldes definiert sein. Beispiel: Aus der Scan-Flow-Konfiguration ist das optionale Feld „Rabatt" nach dem Barcode-Schritt und vor dem Mengen-Schritt definiert. Wenn der Cursor auf dem Feld „Menge" liegt, kann „Rabatt" nicht aktiviert werden. Es kann aktiviert werden, wenn der Cursor auf dem Feld „Barcode" liegt.
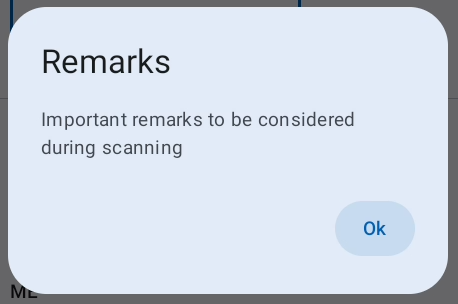
Anmerkungen
Der Team Manager oder der Bereichsleiter kann Anmerkungen zur Zone mit wichtigen Hinweisen für den Benutzer hinzufügen, der das Scannen/Verifizieren durchführt. Diese Anmerkungen werden während der Zonenanmeldung angezeigt und können durch Klicken auf das Anmerkungssymbol eingesehen werden. ![]()
Aktuellen Scan löschen
Der aktuelle Scan kann in jedem Schritt vor dem Einreichen verworfen werden. ![]()
Regalmarkierung
Die Regalmarkierung ![]() /
/![]() zeigt das Ende eines Regals an und hilft weiteren Benutzern bei der Navigation durch die Zone.
zeigt das Ende eines Regals an und hilft weiteren Benutzern bei der Navigation durch die Zone.
Sie ist auch als gelbe Linie in der Scan-Liste und im Verifizierungsbildschirm sichtbar.
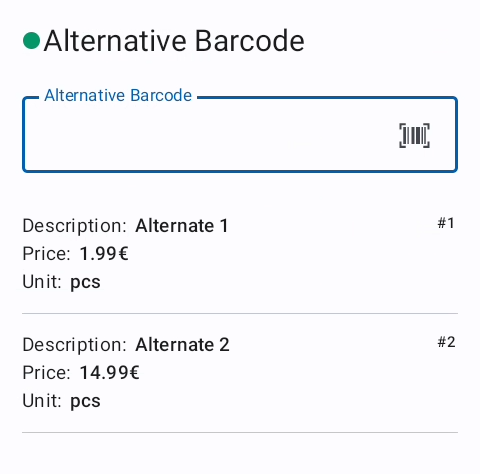
Alternativer Barcode
Der alternative Barcode ist eine Funktion, um Varianten eines Produkts zu verknüpfen, wie z. B. ein Getränkekasten zu einer einzelnen Flasche oder verschiedene Verpackungseinheiten zum Hauptprodukt.
Es gibt zwei Optionen:
- Auswahl des alternativen Barcodes obligatorisch
- Der Auswahlbildschirm öffnet sich, nachdem das Hauptprodukt gescannt wurde
- Auswahl des alternativen Barcodes optional
- Die Auswahl des alternativen Barcodes kann vom Benutzer geöffnet werden

- Wenn die Auswahl des alternativen Barcodes deaktiviert ist, sind keine alternativen Optionen verfügbar.
- Die Auswahl des alternativen Barcodes kann vom Benutzer geöffnet werden
Die Alternativen können über den Cursor oder durch Auswahl auf dem Touch-Bildschirm ausgewählt werden.
Scan-Ablaufschritte
Das System verwendet einen konfigurierbaren Scan-Ablauf mit mehreren Schritten, von denen jeder ein zu scannendes oder einzugebendes Feld darstellt. Jeder Schritt validiert die Eingabe anhand von Regex-Mustern, führt eine Datenbankabgleichung durch, um zu prüfen, ob Artikel vorhanden sind, und kann verwandte Felder automatisch aus Abgleichsergebnissen ausfüllen. Die Schritte verlaufen sequenziell, wobei Sichtbarkeit und Bearbeitbarkeit durch Feldregeln basierend auf vorherigen Eingaben gesteuert werden. Wenn alle erforderlichen Felder ausgefüllt und validiert sind, wird der Scan an die Sitzung übermittelt.
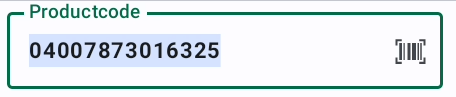
Scanfähige Felder
Das Barcode-Symbol ![]() zeigt an, ob ein Feld scannbar ist.
zeigt an, ob ein Feld scannbar ist.
Ein Feld einreichen
Die Pfeiltaste links ![]() auf dem Touch-Bildschirm oder die Enter-Taste auf den Hardware-Tasten reicht den aktuellen Schritt ein und wechselt zum nächsten bearbeitbaren Feld.
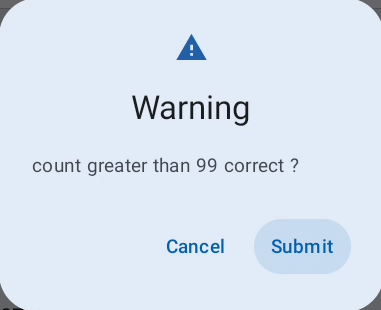
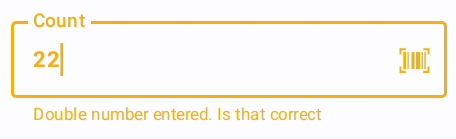
Jedes Feld kann eigene Validierungen basierend auf der Scan-Flow-Konfiguration haben. Validierungswarnungen oder -fehler werden bereits während der Werteingabe angezeigt.
auf dem Touch-Bildschirm oder die Enter-Taste auf den Hardware-Tasten reicht den aktuellen Schritt ein und wechselt zum nächsten bearbeitbaren Feld.
Jedes Feld kann eigene Validierungen basierend auf der Scan-Flow-Konfiguration haben. Validierungswarnungen oder -fehler werden bereits während der Werteingabe angezeigt.
Werte mit einer Warnung können nach Bestätigung eingereicht werden.
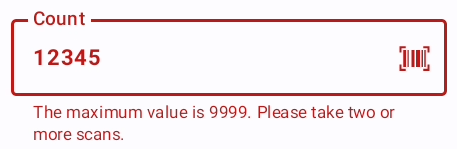
Werte mit einem Fehler können nicht eingereicht werden.
Einen Scan einreichen
Der grüne Rahmen eines Feldes zusammen mit dem Barcode-Symbol ![]() zeigt an, dass das Scannen eines Wertes den aktuellen Scan einreicht und den gescannten Wert als Eingabe für das erste Feld der nächsten Position verwendet. Dies ermöglicht es dem Benutzer, den nächsten Artikel zu scannen und den vorherigen Scan in einem Schritt einzureichen.
Beispiel: Der Cursor befindet sich auf dem Feld „Menge" mit grünem Rahmen und Barcode-Symbol. Wenn der Benutzer das nächste Produkt scannt, wird die aktuelle Position eingereicht/gespeichert und der gescannte Barcode für die nächste Position verwendet. Dadurch entfällt die manuelle Scan-Einreichung.
zeigt an, dass das Scannen eines Wertes den aktuellen Scan einreicht und den gescannten Wert als Eingabe für das erste Feld der nächsten Position verwendet. Dies ermöglicht es dem Benutzer, den nächsten Artikel zu scannen und den vorherigen Scan in einem Schritt einzureichen.
Beispiel: Der Cursor befindet sich auf dem Feld „Menge" mit grünem Rahmen und Barcode-Symbol. Wenn der Benutzer das nächste Produkt scannt, wird die aktuelle Position eingereicht/gespeichert und der gescannte Barcode für die nächste Position verwendet. Dadurch entfällt die manuelle Scan-Einreichung.
Der Scan kann auch manuell über das letzte bearbeitbare Feld eingereicht werden. Dies wird durch die Einreichungsschaltfläche angezeigt. ![]()
Tastenkürzel
| Hardware-Taste | Aktion |
|---|---|
| FN1 | Aktuellen Scan löschen |
| FN2 | Scan-Liste umschalten |
| FN3 | Sitzung einreichen |
| FN4 | Regalmarkierung hinzufügen |
| FN + 1 | Touch deaktivieren/aktivieren |
| FN + 2 | WLAN-Einstellungen öffnen |
| FN + 3 | Mobile-Einstellungen öffnen |
| FN + 5 | Helligkeit verringern |
| FN + 6 | Helligkeit erhöhen |
| FN + F5 | Alternativer Barcode-Auswahl öffnen |
| FN + F6 | Taschenrechner öffnen |
| FN + F7 | Optionale Felder öffnen |
| FN + F8 | Seitenmenü öffnen |
Fehlerbehebung
Häufige Probleme – Bildschirm „Zu scannende Zonen"
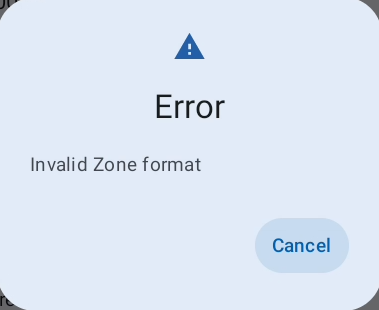
Ungültiges Zonenformat
-
Der Zonencode entspricht nicht dem erwarteten Formatmuster → Prüfen, ob das korrekte Zonenlabel gescannt wurde.
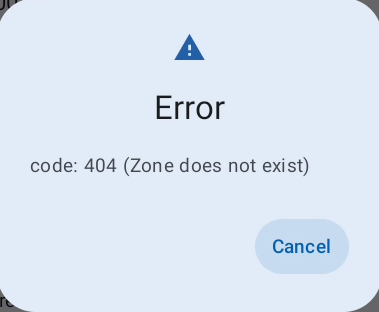
Zone existiert nicht
-
Die Zone ist nicht Teil des Projekts → Prüfen, ob das Label vom aktuellen Projekt stammt, und den Teamleiter informieren.
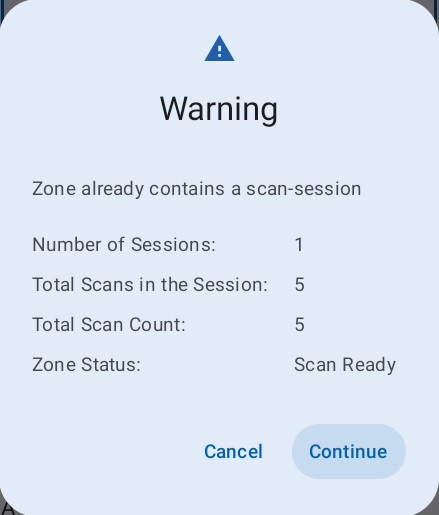
Zone enthält bereits eine Scan-Sitzung
-
Die Zone hat bestehende Sitzungen. → Prüfen, ob die Zone bereits gescannt wurde.
Zone blockiert aufgrund falscher Zonenzählung
- Die Zone hat eine falsche Zonenzählen-Verifizierung und muss verifiziert werden.

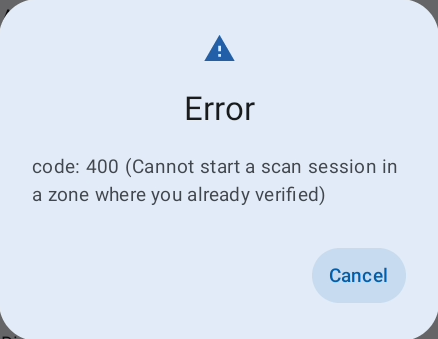
Scannen dort nicht möglich, wo bereits verifiziert wurde
-
Eine Person darf nicht an derselben Zone scannen und verifizieren.
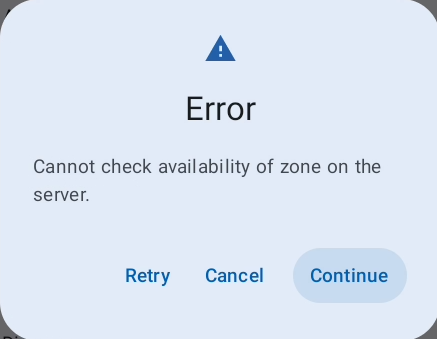
Zonenverfügbarkeit konnte nicht mit dem Server verifiziert werden
-
Der Server ist nicht erreichbar, um den Zonenstatus zu validieren. → Verbindung prüfen und erneut versuchen.
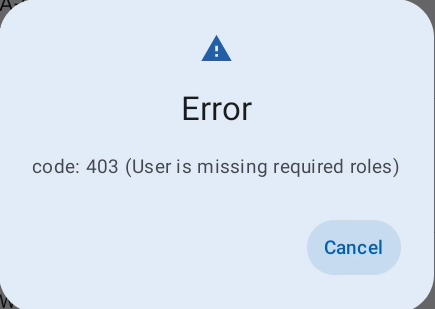
Benutzer fehlen erforderliche Rollen
-
Prüfen, ob Sie die korrekte Rolle im Projekt für das Scannen haben.
- Folgende Rollen dürfen nicht scannen:
- Beobachter
- Qualitätssicherungsmanager
- Externer Prüfer
- Folgende Rollen dürfen nicht scannen:
Häufige Probleme – Scan-Bildschirm
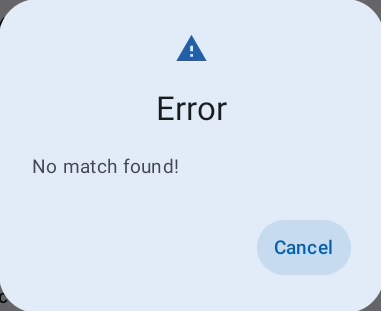
Gescannter Artikel wurde in der Match-Datenbank nicht gefunden
-
Der gescannte Artikel wurde in der Match-Datenbank nicht gefunden → Team Manager oder Bereichsleiter informieren.
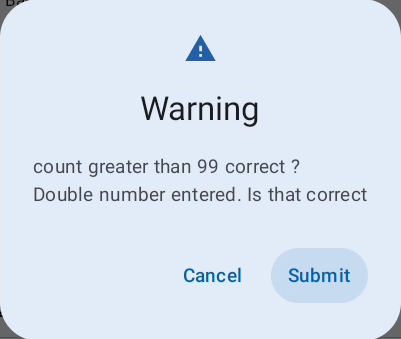
Benutzerdefinierte Feldvalidierungsmeldung
-
Feldspezifischer Fehler/Warnung aus Regex-Validierungsregeln. → Wert basierend auf dem angegebenen Fehler/der Warnung ändern/bestätigen.
Häufige Probleme – Scan-Listbildschirm
Benutzerdefinierte Validierungsmeldung
-
Mengenfeld-spezifischer Fehler aus Regex-Validierungsregeln. → Menge auf einen gültigen Wert ändern.