Scan Mode
The Scans screen is where users scan items within a zone session. The system uses a configurable scan flow with multiple steps, each representing a field to be scanned or entered. Each step validates input against regex patterns, performs database matching to verify items exist, and can auto-populate related fields from match results. Steps progress sequentially, with visibility and editability controlled by field rules based on previous inputs. When all required fields are filled and validated, the scan is submitted to the session.
Overview
The available fields and also the editability is depending to the scan-flow config
Features
Zones to scan
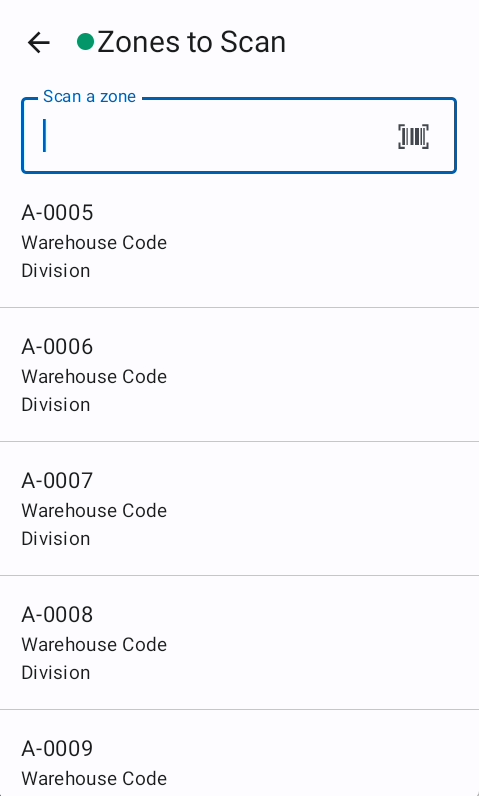
The Zones screen allows users to check in to a zone for scanning. The system validates the zone code format using regex patterns, checks if the zone is available on the server, and verifies there are no existing open sessions for that zone. If validation passes, a zone check-in record is created and the user proceeds to scan or verify items in that zone.
The "zones to scan" screen provides zone suggestions based on the last work of the user. It shows the five next not scanned zones from the last scanned zone. This is the suggested zone list and help the user finding the next zone to do. The user is not forced to select one of these.
When a user gets a zone assigned from the Team-Manager or Area-Manager he get's informed about that during login.
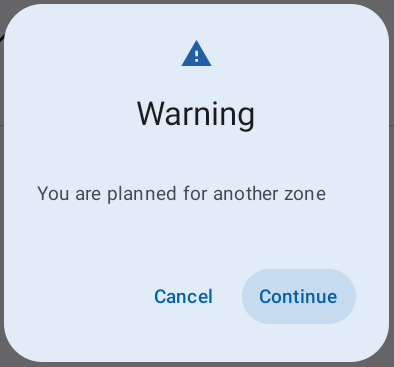
The login method is controlled by the zone code config and the login with function button. If the "login with function button" setting is enabled the user can login to a zone by selecting a zone from the suggested zones list.
Scan screen
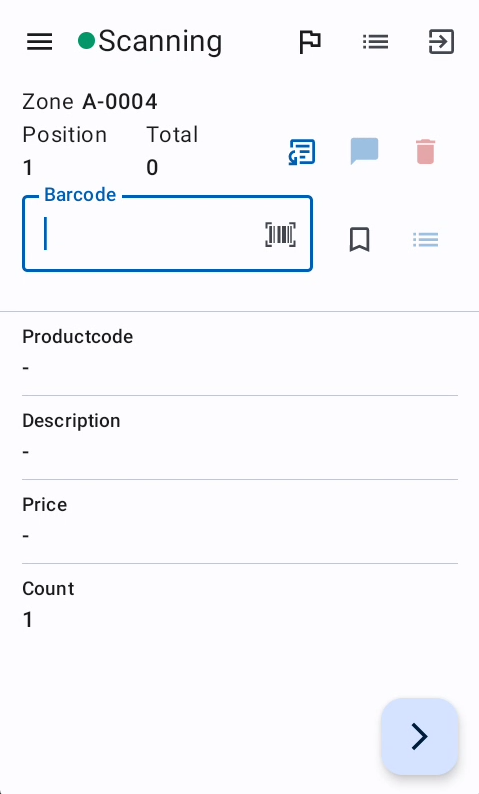
The Scans screen is where users scan items within a zone session. The system uses a configurable scan flow with multiple steps, each representing a field to be scanned or entered. Each step validates input against regex patterns, performs database matching to verify items exist, and can auto-populate related fields from match results. Steps progress sequentially, with visibility and editablilty controlled by field rules based on previous inputs. When all required fields are filled and validated, the scan is submitted to the session.
Top bar
- Side Menu

- Connection status -> The App contact the server very 10 seconds
 -> Successful server response
 -> Unsuccessful server response
- Name of the current screen
- Request help

- Scan list

- Submit Session

Request help
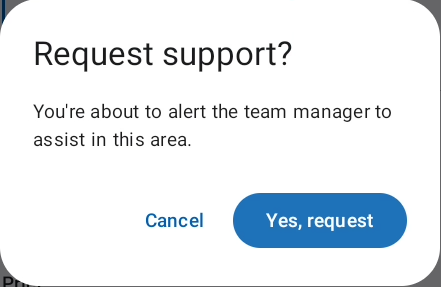
The Help request will send a notification to the server with the information about the zone and the user, creating the request. This allows the Team-Manager or Area-Manager to react on the request efficiently and reduces the idle time for the employees.
Scan list
The scan list shows the already scanned positions of the same zone session. From this list it the count of each position can be changed or the shelf marker can be added. With the search a position can be found by scanning a barcode.
The shelf marker can be added by selecting a position and pressing FN4
The scan list is in reversed order -> Last position on top
Scans are grouped together when:
- They have the same barcode or match code (identifier).
- All match fields (like Description, Size, Color) have identical values.
- No scan in the sequence has a marker flag set (markers break groups).
Each group displays:
- The item's identifying information (barcode, description, etc.).
- Total count for that item across all scans in the group.

Optional steps
The optional fields ![]() allow the user to make optional fields visible. If there is only one field defined the button will enable/disable the field. If there are more than one field defined as optional the selection will appear. These fields are defined from the scan flow config
allow the user to make optional fields visible. If there is only one field defined the button will enable/disable the field. If there are more than one field defined as optional the selection will appear. These fields are defined from the scan flow config
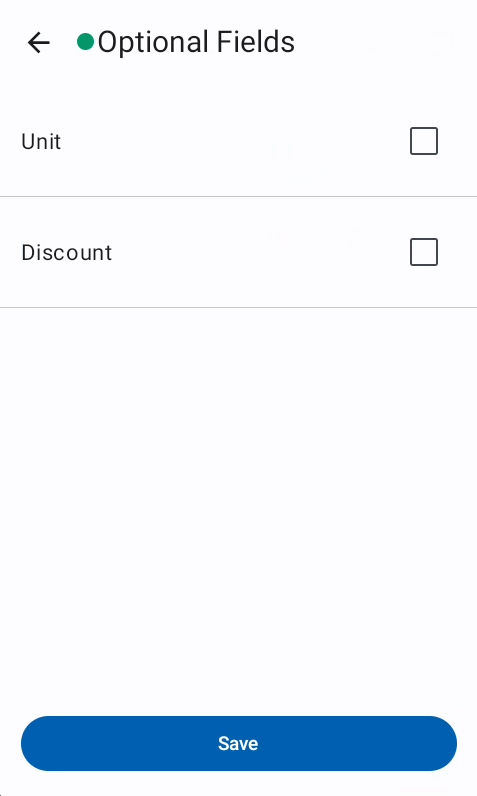
To enable optional fields, these have to be defined as an upcoming field depending on the current selected field. Example: From the scan flow config, the optional field "Discount" is defined after the Barcode step and before the the count step. If the cursor is on the "Count" field, the "Discount" can not be enabled. It can be enabled when the cursor is at the "Barcode" field.
Remarks
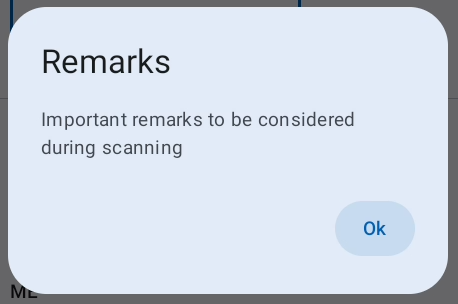
The Team-Manager or Area Manager can add remarks to the zone with important notes to the user performing the scanning/verification. These Remarks will be shown during the zone login, and can be reviewed clicking the Remarks Icon ![]()
Delete current scan
The current scan can be discarded in any step before it's submitted ![]()
Shelf marker
The self marker ![]() /
/![]() indicates the end of a shelf and helps any further users by navigating through the zone.
indicates the end of a shelf and helps any further users by navigating through the zone.
It's also visible as a yellow line in the scan list and verify screen
Alternative Barcode
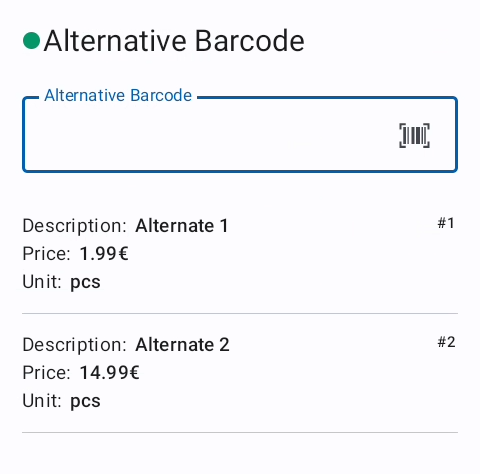
The alternative Barcode is a function to link variants of a product, like the drinks crate to a single bottle or different packing units to the main product.
There are two options:
- Alternative barcode selection mandatory
- The selection screen opens after the main product is scanned
- Alternative barcode selection optional
- The alternative barcode selection can be opened by the user

- if the alternative barcode selection is disabled, there are no alternative options available.
- The alternative barcode selection can be opened by the user
The alternatives can be selected by using the cursor or selecting on the touch screen.
Scan flow steps
The system uses a configurable scan flow with multiple steps, each representing a field to be scanned or entered. Each step validates input against regex patterns, performs database matching to verify items exist, and can auto-populate related fields from match results. Steps progress sequentially, with visibility and editablilty controlled by field rules based on previous inputs. When all required fields are filled and validated, the scan is submitted to the session.
Scannable fields
The barcode ![]() icon indicates if a field is scannable
icon indicates if a field is scannable
Submit a field
The arrow left button ![]() on the touch or the enter button on the hardware keys submits the current step and moves to the next editable field.
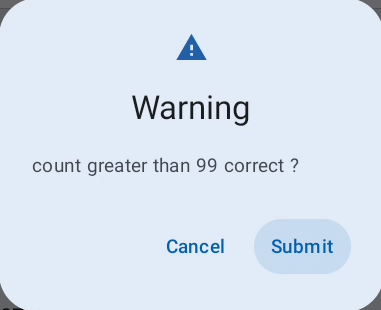
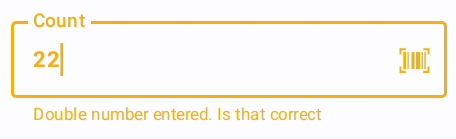
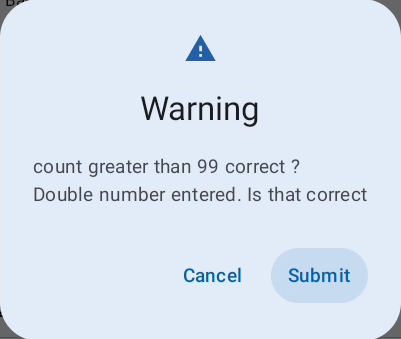
Each field could have their own validations based on the scan flow config. Validation warnings or errors are already shown during input of the value.
on the touch or the enter button on the hardware keys submits the current step and moves to the next editable field.
Each field could have their own validations based on the scan flow config. Validation warnings or errors are already shown during input of the value.
Values with a warning can be submitted after confirmation.
Values with an error cannot be submitted
Submit a scan
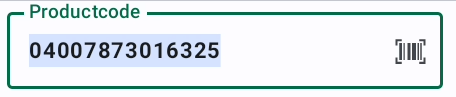
The green border of a field, together with the barcode ![]() icon, indicates that the scanning a value will submit the current scan and use the scanned value as input for the first field of the next position. This allows the user to scan the next item and submit the previous scan in one step.
Example: The cursor is on the "Count" field and having the green border and the Barcode icon. When the user scans the next product, the current position will be submitted/saved and the scanned barcode is used at the next position. This skip the manual scan submit.
icon, indicates that the scanning a value will submit the current scan and use the scanned value as input for the first field of the next position. This allows the user to scan the next item and submit the previous scan in one step.
Example: The cursor is on the "Count" field and having the green border and the Barcode icon. When the user scans the next product, the current position will be submitted/saved and the scanned barcode is used at the next position. This skip the manual scan submit.
The scan can also be submitted manually from the last editable field. This is indicated by the submit button ![]()
Shortcuts
| Hardware key | Action |
|---|---|
| FN1 | Delete the current scan |
| FN2 | Toggle the scan list |
| FN3 | Submit the session |
| FN4 | Add shelf marker |
| FN + 1 | Disable/Enable the touch |
| FN + 2 | Open Wifi settings |
| FN + 3 | Open Mobile settings |
| FN + 5 | Decrease brightness |
| FN + 6 | Increase brightness |
| FN + F5 | Open Alternate barcode selection |
| FN + F6 | Open Calculator |
| FN + F7 | Open optional fields selection |
| FN + F8 | Open Side-menu |
Troubleshooting
Common Issues zones to scan screen
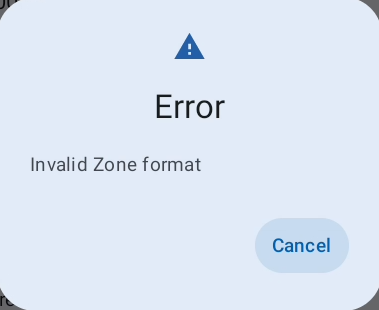
Invalid zone format
-
The zone code does not match the expected format pattern -> Check if you scanned the correct zone label
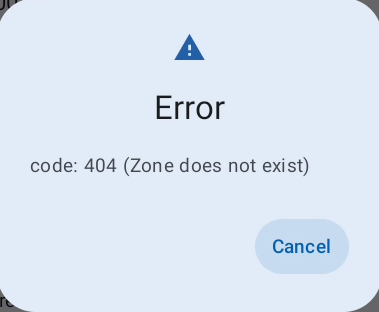
Zone does not exist
-
The zone is not part of the project -> Check if the label is from the current project and inform the team-manager.
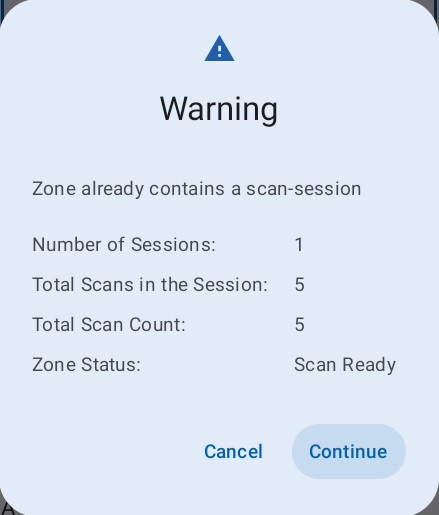
Zone already contains a scan session
-
The zone has existing sessions. -> Check if the zone has already been scanned.
Zone blocked due to an incorrect zone count
- The zone has an incorrect zone count verification and needs to be verified

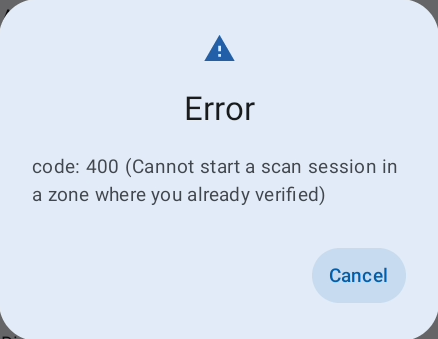
Can not scan where you already verified
-
A person is not allowed to perform scanning and verification on the same zone
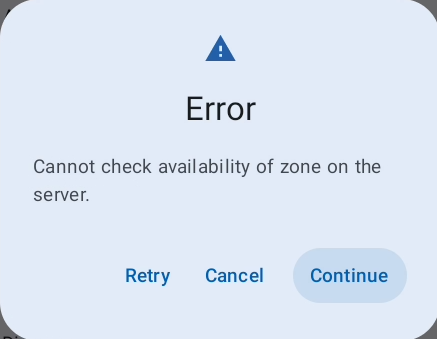
Could not verify zone availability with the server
-
The server can not be reached to validate the zone status. -> Check your connection and retry
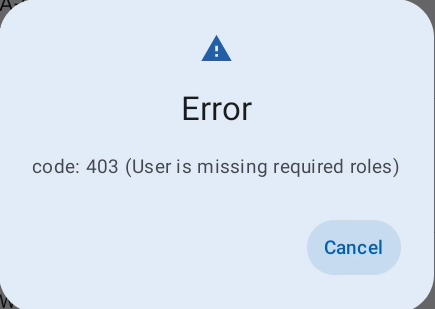
User is missing required roles
-
Confirm you have the correct role on the project to perform scanning.
- Following roles are not allowed to perform scanning:
- Observer
- Quality assurance manager
- External auditor
- Following roles are not allowed to perform scanning:
Common Issues scan screen
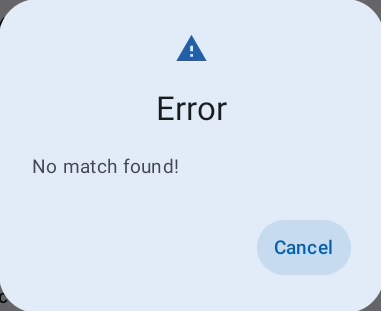
The scanned item was not found in the match database
-
The scanned item was not found in the match database -> inform the Team-Manager or Area-Manager
Custom field validation message
-
Field specific error/warning from regex validation rules. -> Change/confirm the value based on the given error/warning.
Common Issues scan list screen
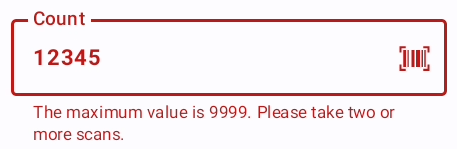
Custom Validation Message
-
Count field-specific error from regex validation rules. -> Change the count to a valid value